
Here I delve into my creativity a bit more to show my passion in craft making – I am an experienced sewer and embroiderer and I have begun making my own embroidery designs and creating fabric craft pieces.
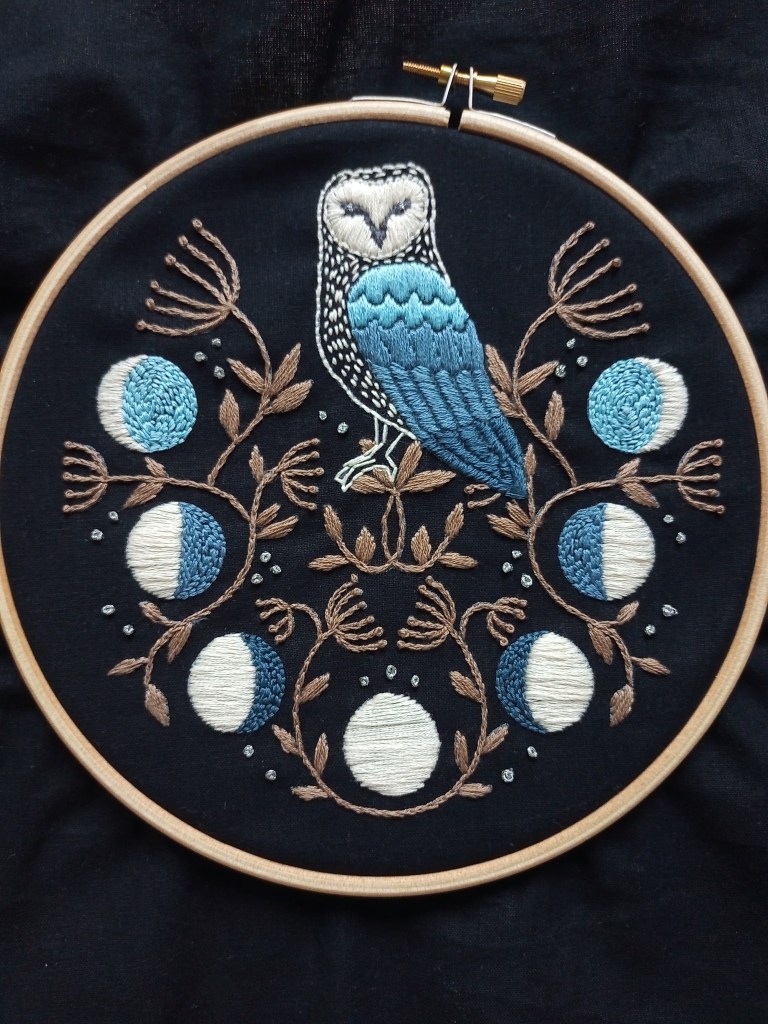
Embroidery piece- twilight themed. Being made into a cushion with fabrics to enhance the soft cotton textures and witch-y feel of the piece.
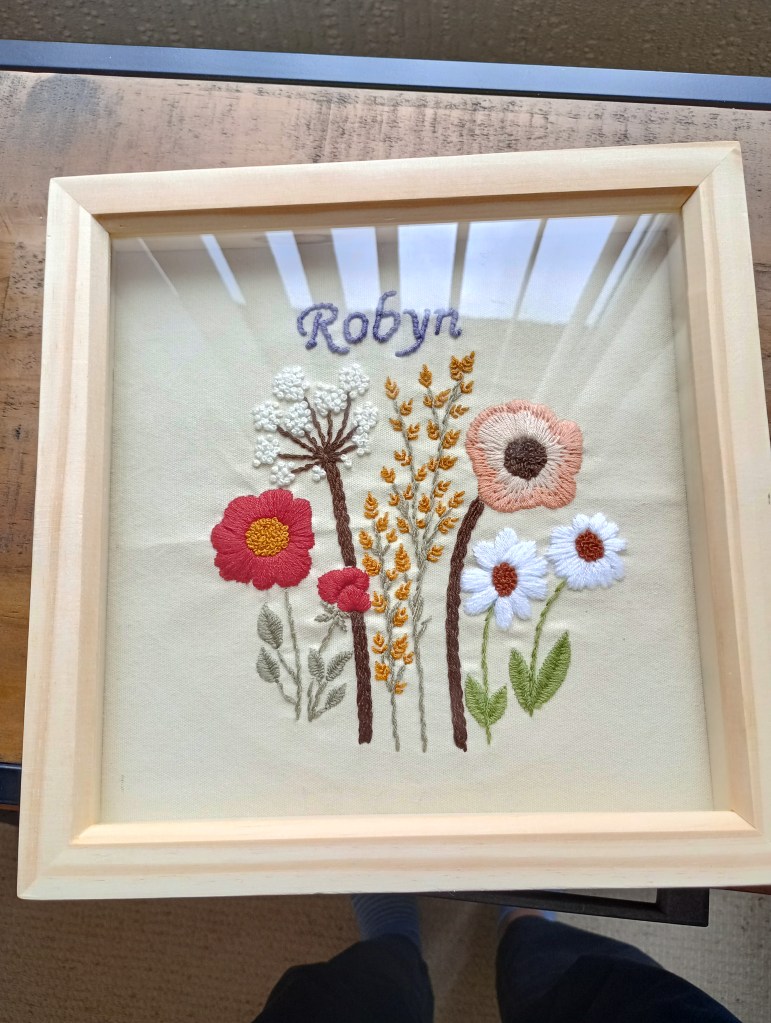

Embroidery piece- my start into exploring my own designs. The flower design was an existing pattern I followed but I added the personalisation as a present to a friend for the birth of her baby. I have begun developing this idea into bespoke embroidery pieces for celebrations including weddings, births, and anniversaries.

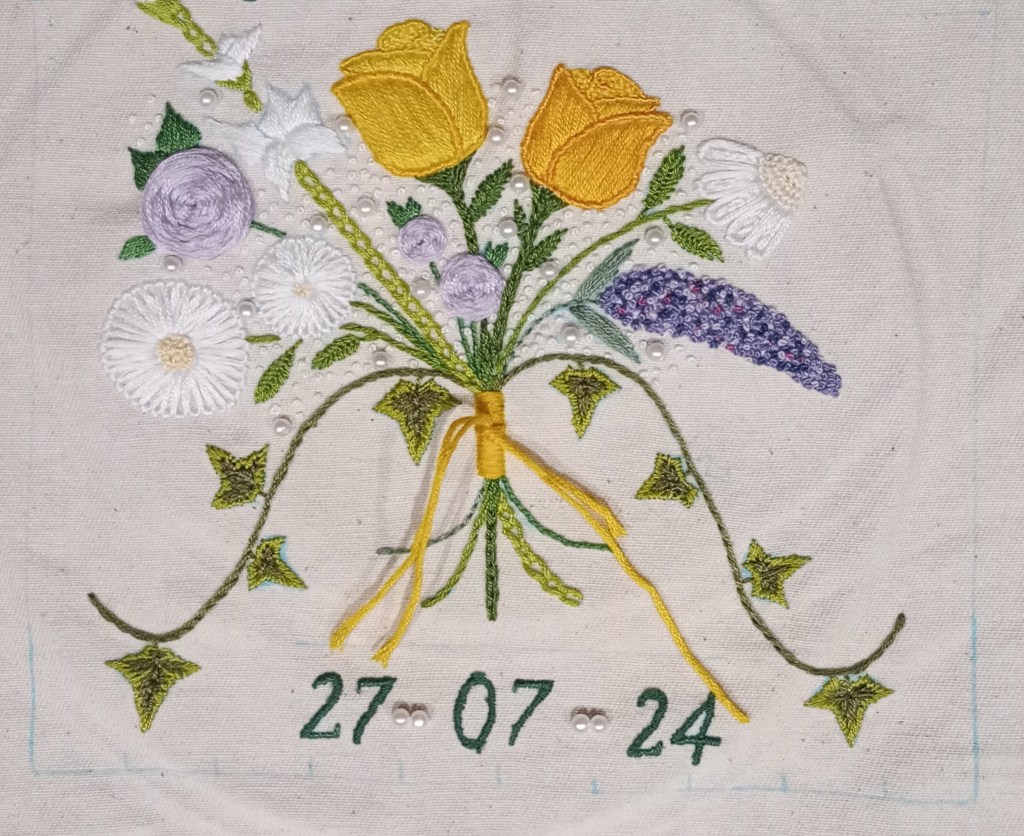
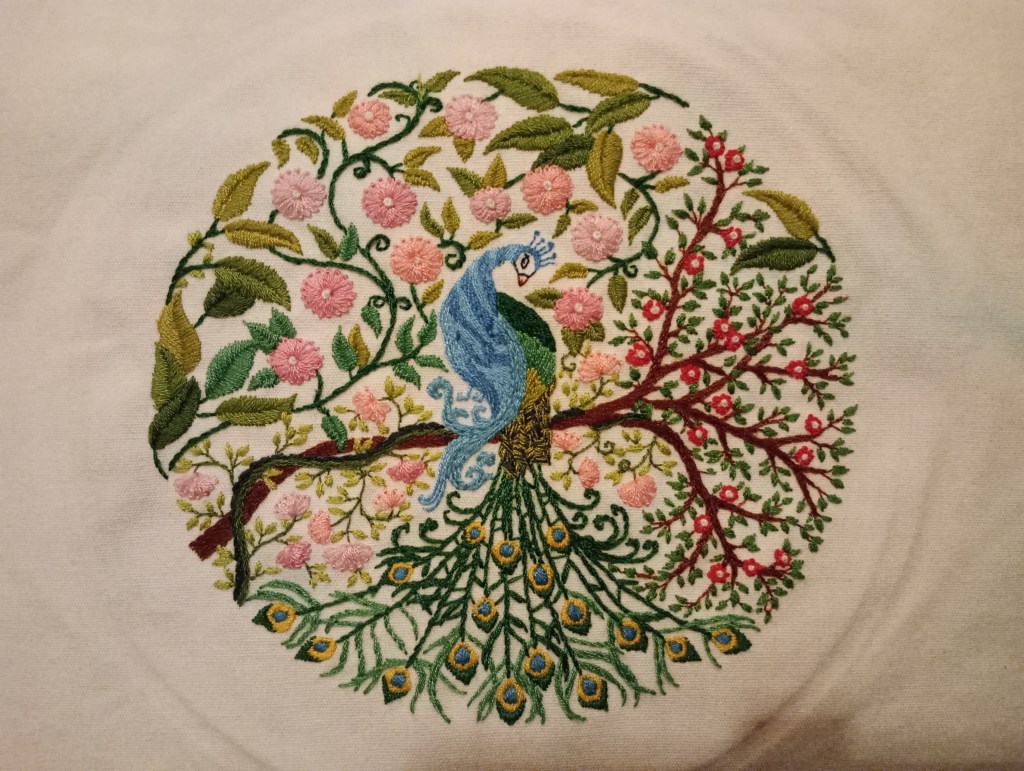
Bespoke embroidery piece- made to surprise a friend on at her wedding reception. With help from the bride’s sister I matched the flowers and colours to the bouquet and themes of the wedding. The couple’s names and date of their wedding are added around the bouquet style to make it more personalised to them. This is the first of my own designs- there are areas I would improve on in future and I am experimenting with different styles- wreaths rather than bouquets, different flowers, new stitches and embroidery flosses. The colours I chose were specific to the wedding – yellow, lilac and green- but the shades of each of these were picked to blend well with each other and to provide variety in the image. See how the roses have slightly different shades of yellow to each other, and the outline is a different shade to the filling to allow for contrast and to highlight the shape and swirl in the rose. This style of rose was something I worked out in the process of making- roses in embroidery ae typically in the ‘woven rose’ style as the rose is viewed from above, but I wanted to match the upright/high angle image of the rose from the pictures I was given. I researched different embroidery patterns that features roses but ended up mimicking the styles I had seen from machine embroidery which show the body of the rose and the spiral at the top, but added my own style to it with satin stitch filler and whipped backstitch outline.
[cushion images]
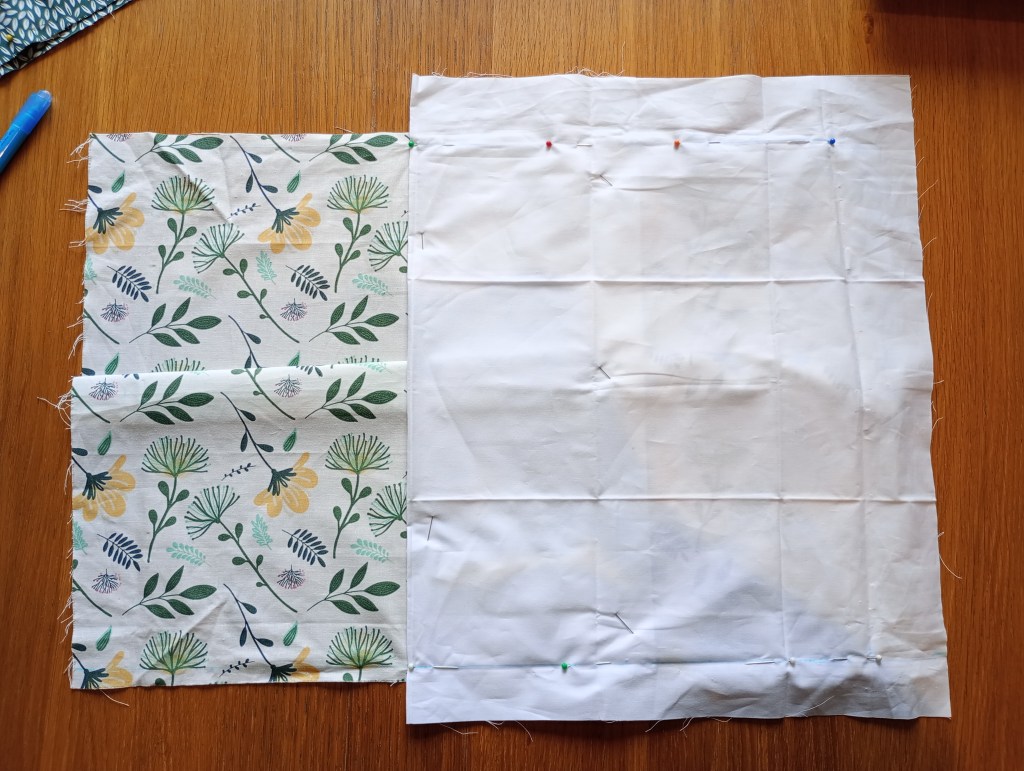
Hand-sewn cushion covers- made for a friend to feature in her nursery for her new-born son. I wanted to create something as a going-away/maternity gift for a work colleague and decided on making cushions for the nursery chair. This lovely fabric was part of a pack of fat quarters and embodied the joy and whimsy of a child friendly present. For my first experiment into hand sewing pieces meant for use I am pleased with the result but can see places of uneven stitching. The envelope fold of the cushion is achieved with overlapping pieces with at least 2 inches of overlap + seam allowance, to keep the cushion insert inside but to be able to remove it for washing purposes. There is minimal seam allowance to create a fuller/puffier look from the cushion insert, but this technique is more reliable with machine sewing. I did not want the seams splitting on my friend so there is seam allowance, the seams are finished inside with blanket stitch and some parts have a double line of backstitches.
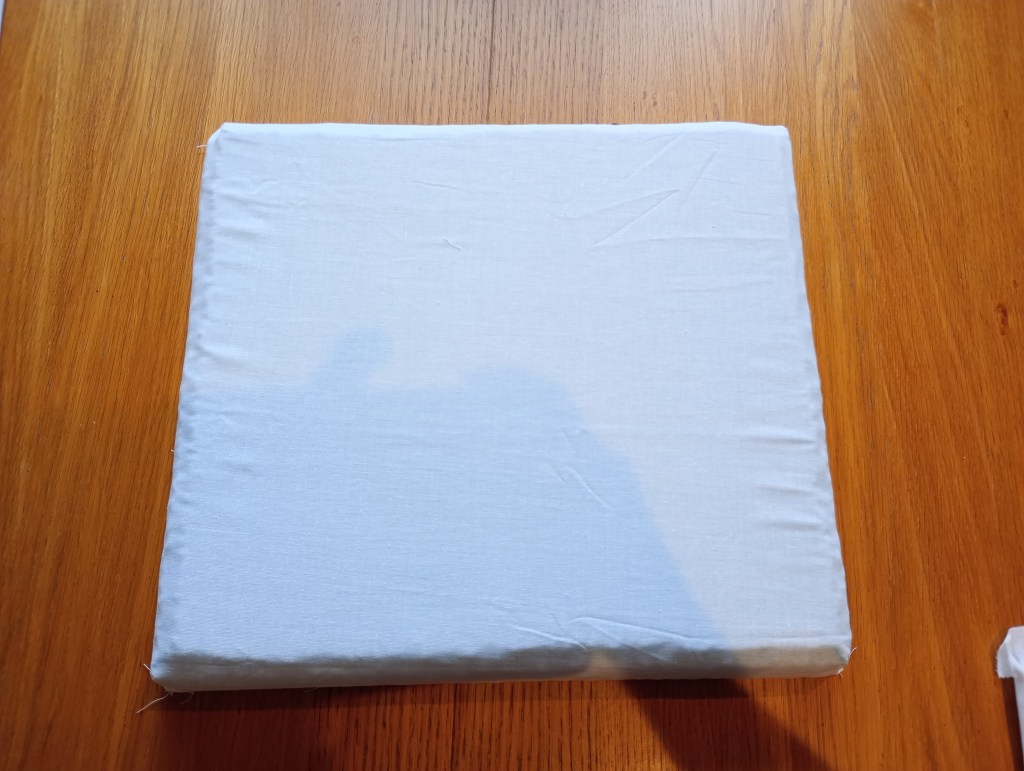
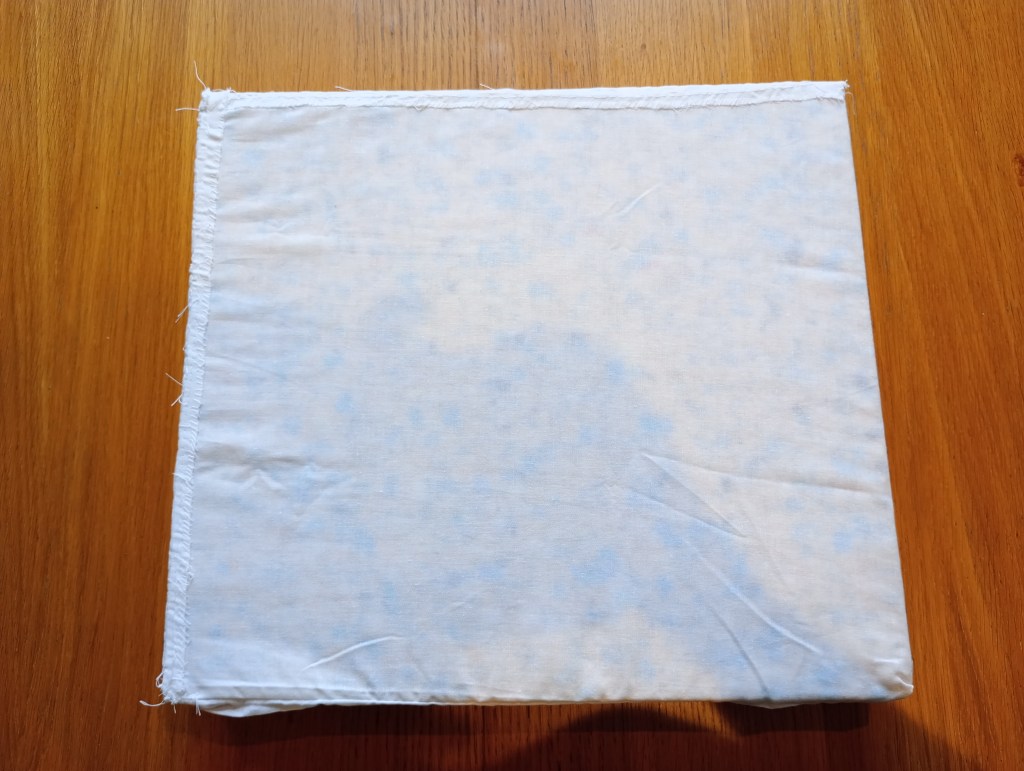
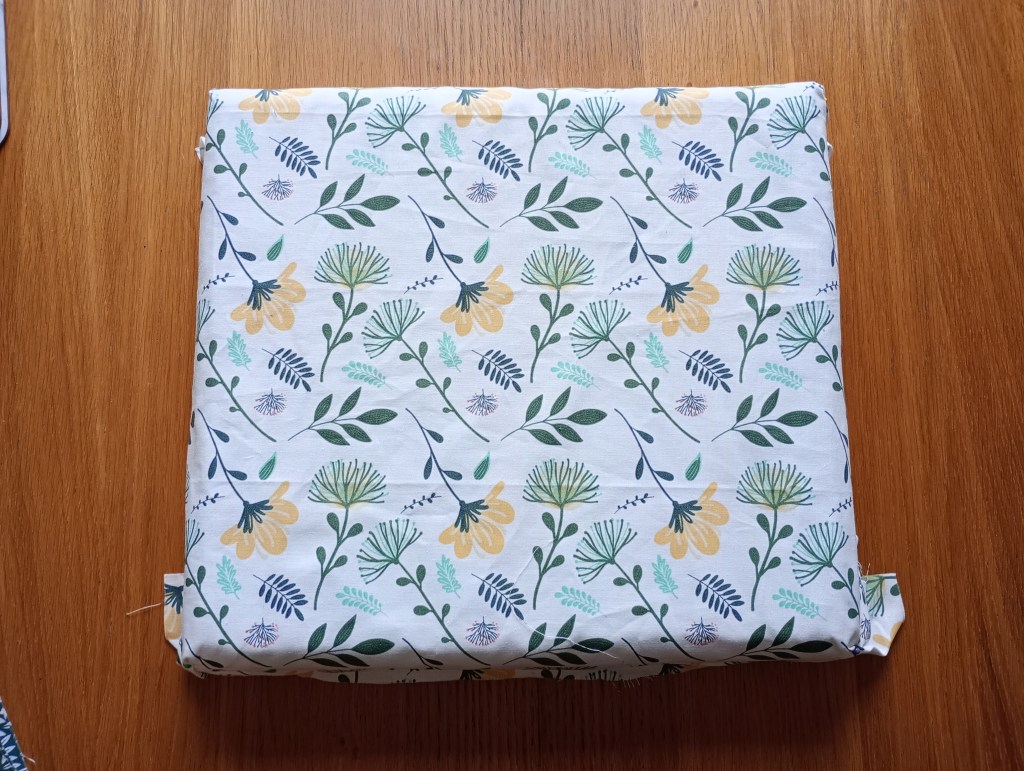

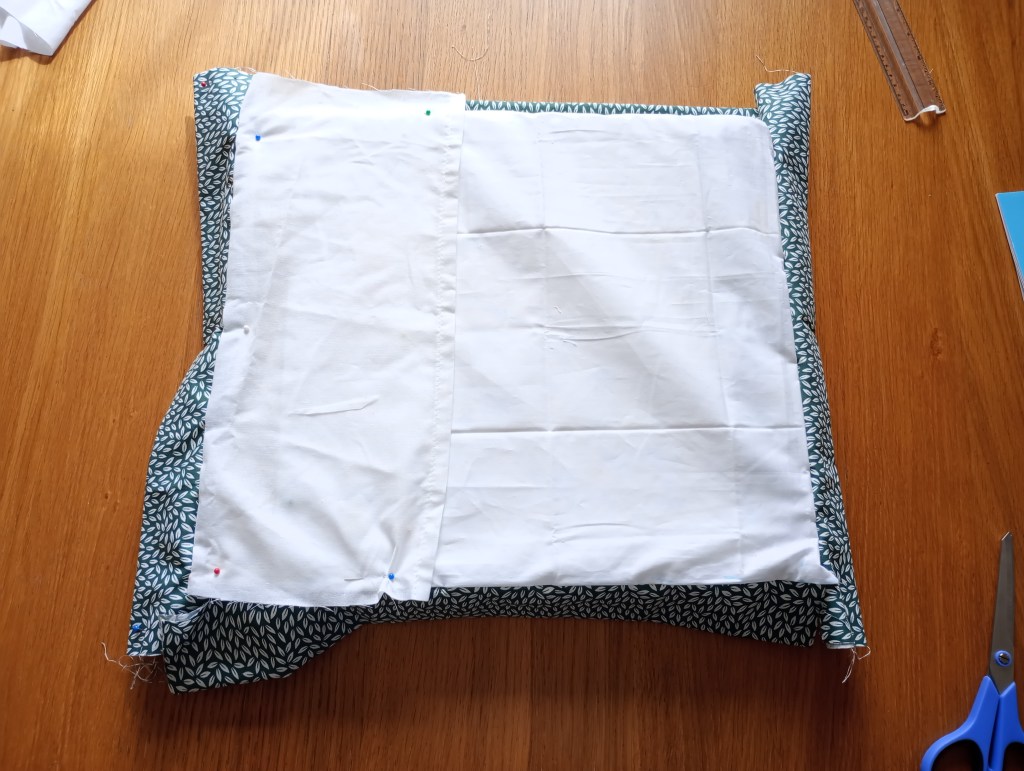

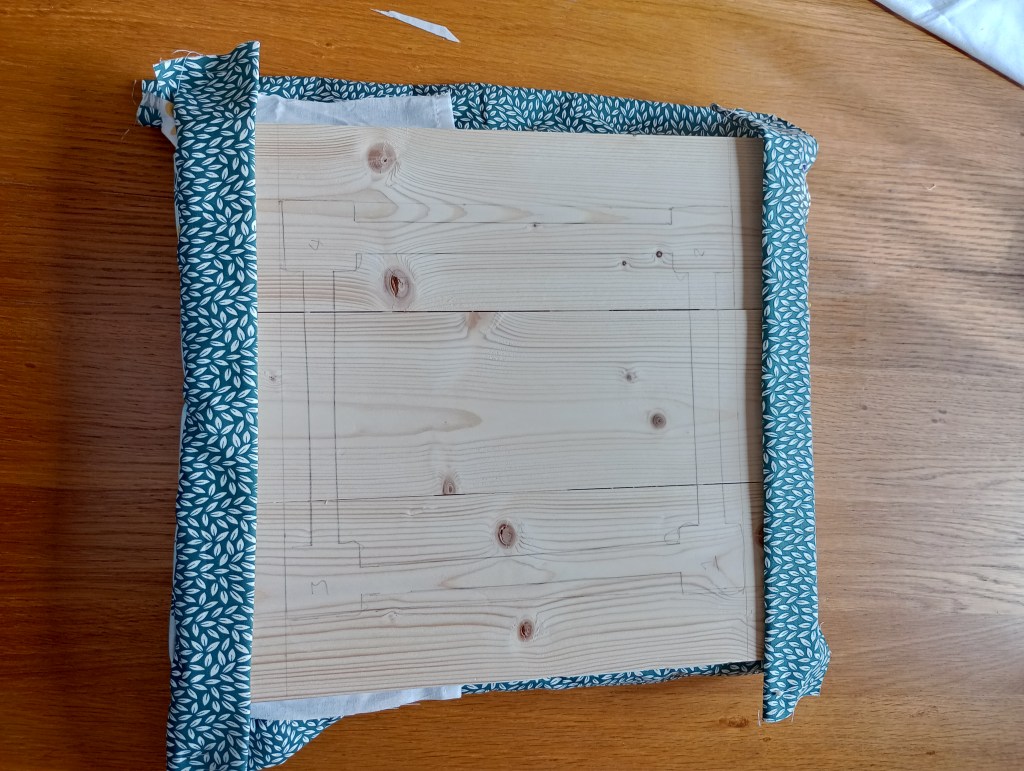
Hand sewn foam cushion cover- to complete the wooden stool I made in my prop making course I wanted to add a cushion & cover. I wanted to cushion to be detachable so the stool can be used also as a small table. The foam piece is part dense foam and part lighter foam to create a base layer that is sturdy and durable, and an upper layer that is comfortable and malleable. I shaped the foam to create a bevelled edge, to match the edges of the stool top- this created an uneven edge on the foam so I sewed in into a basic cushion cover to protect the foam from further wear or picking-at. The cushion cover fabric was chosen to flow with the engraved ivy on the stool legs- I wanted the fabric to feature green as the painted stool will, but to not be overwhelmingly green. This white/green/yellow pattern was perfect to highlight the white-washing on the stool and yellow paint detail on the ivy. The dark green tabs are there so that sticky-back velcro can be put onto them and the underside of the stool top. With these in place I can unlatch the cushion cover from the stool top and re-attach when needed without using invasive pins or staples. To allow for multiple cushion cover or washing of this cover, I didn’t want to sew the foam cushion insert into the cover so built in an envelope fold cushion, with the overlap as close to the edge as possible but still on the underside to not detract from the fabric design. With this is place the top couple inches of the cover can be folded back to extract the cushion, then folded back over and fastened down to the stool top.
